
I bet you are really good at something that you could teach others.
In my post, "How to Start a Consulting Business in 30 Minutes with Free Software", I walk you through how to setup your own Consulting Business.
The killer tool in this walk through is Hubspot. Here are complete step-by-step instructions for how to setup a free Hubspot Account:
1. Initial Setup
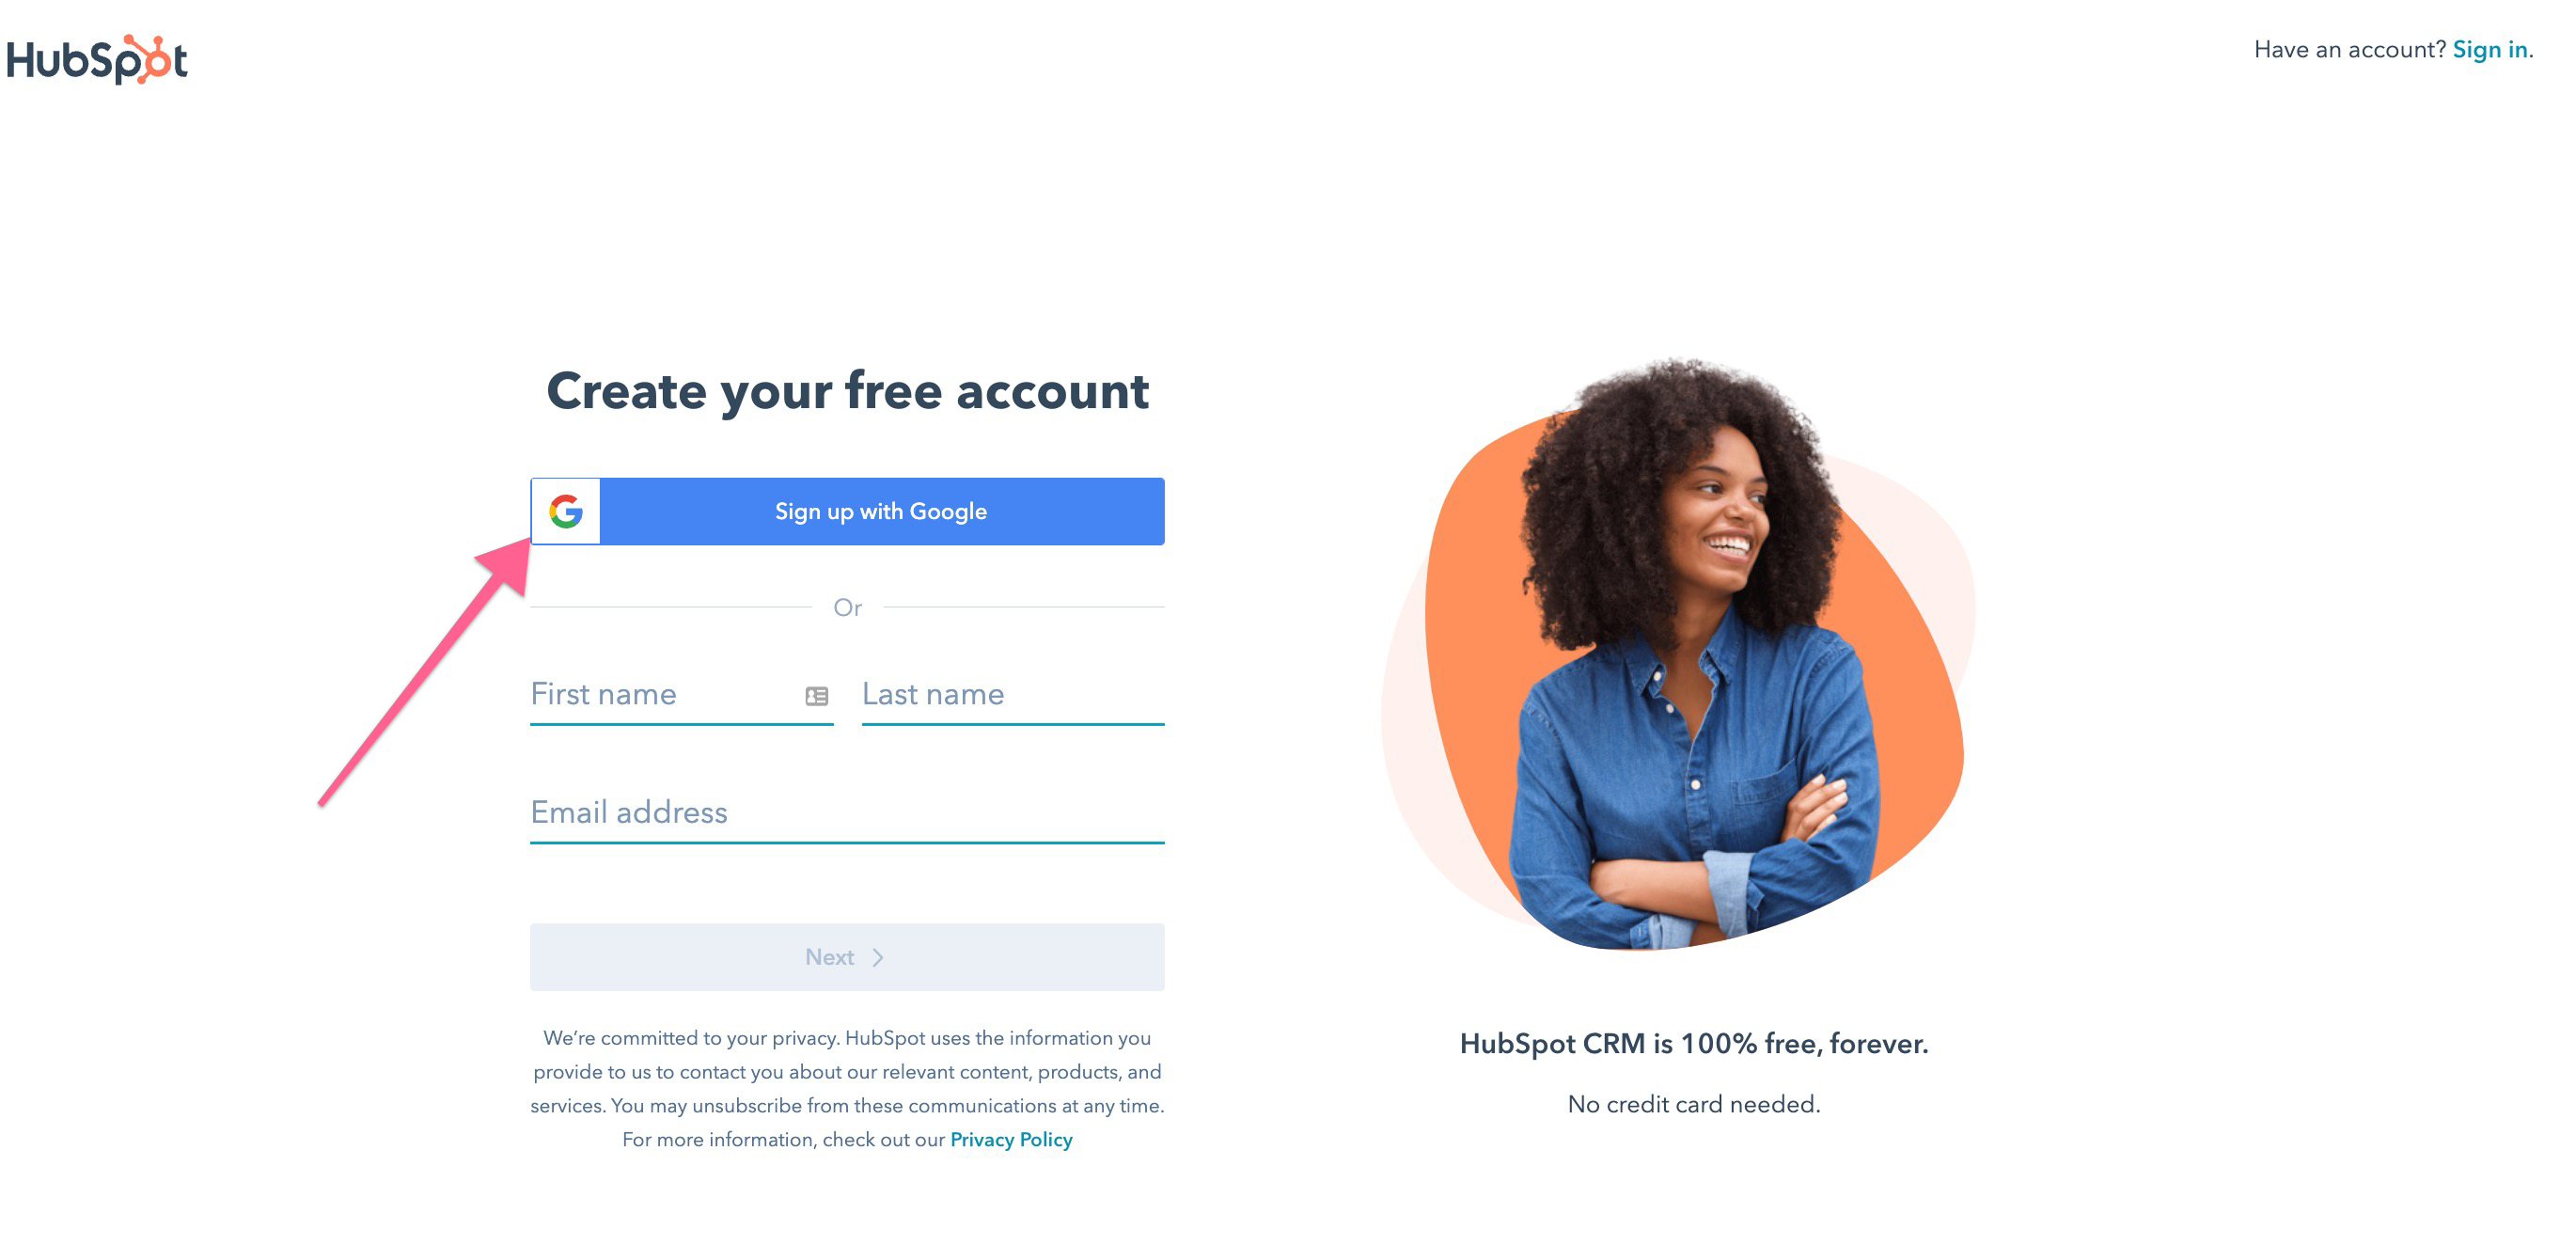
Create a new Google account and then go here to create a new Hubspot account with your Google login.
 Choose your Google Account (the new one you just created)
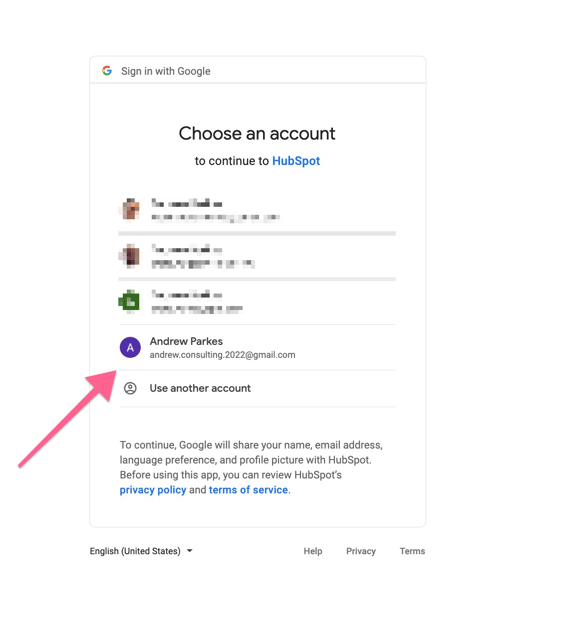
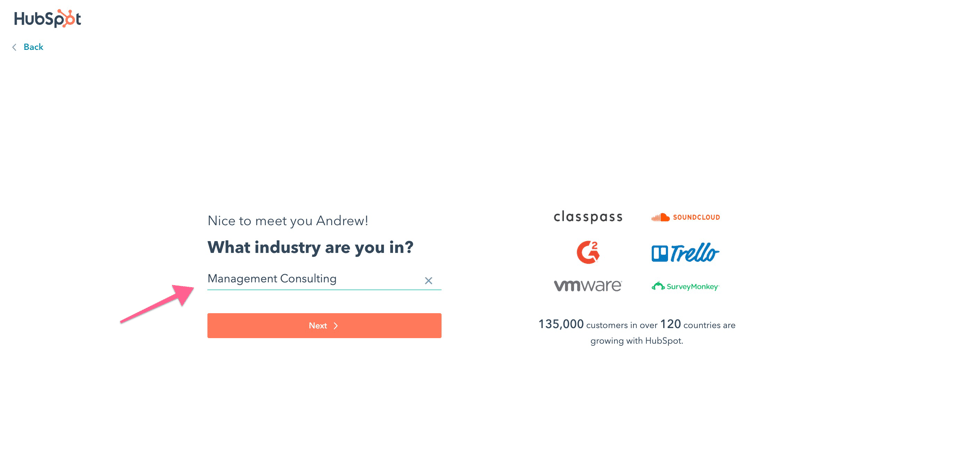
Select ‘Consulting’ for the Industry
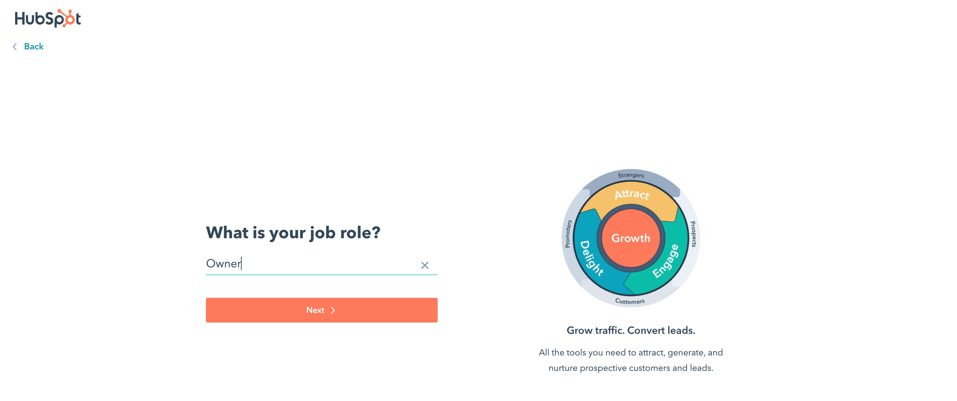
Select ‘Owner’ for the Job Role
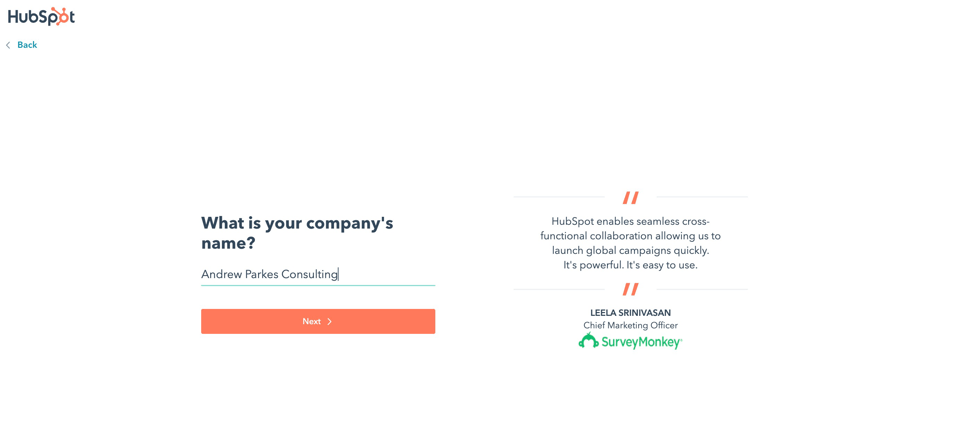
Enter a Company Name
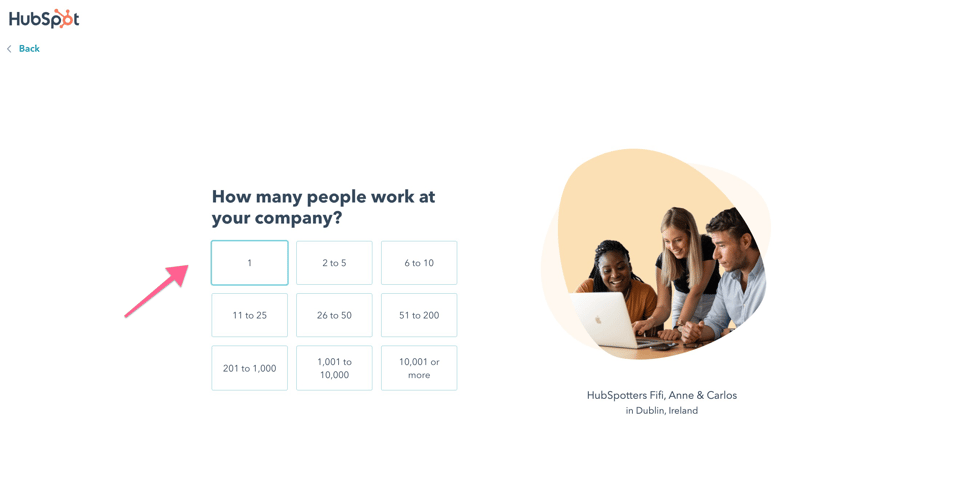
Select your Company Size
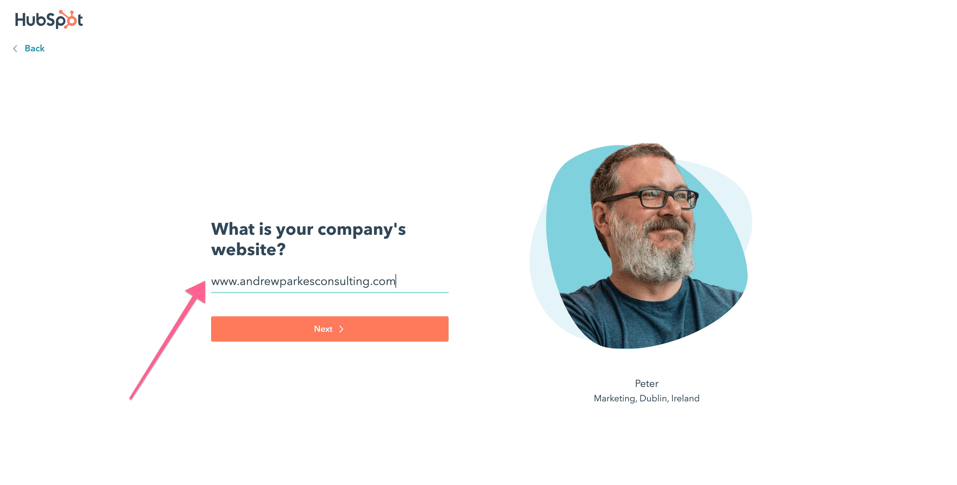
Enter a Website. I don’t have a website for this new Google account but you can’t skip this step so I invented a website name. It doesn't have to be a real website.
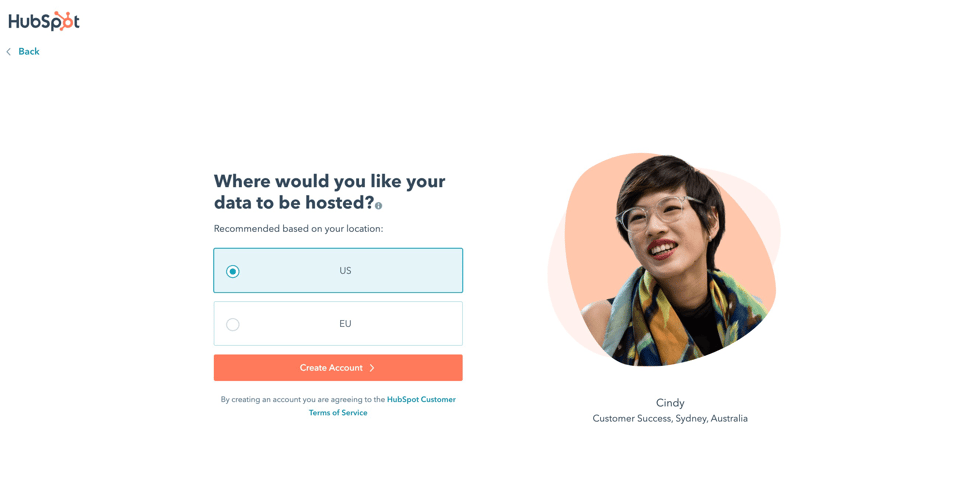
Select where the data will be hosted. (I guess that's important these days.)
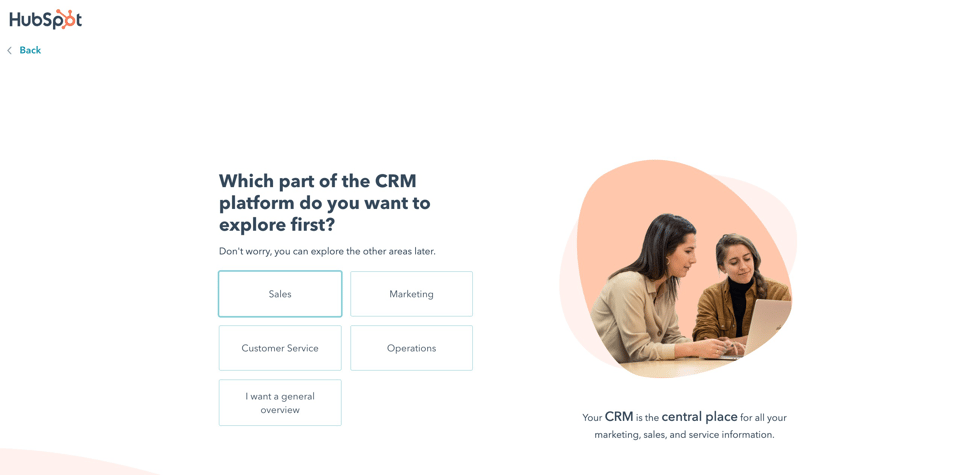
Select an option based on your experience with Hubspot and/or CRM's

Select an option - probably 'Sales' would be best.
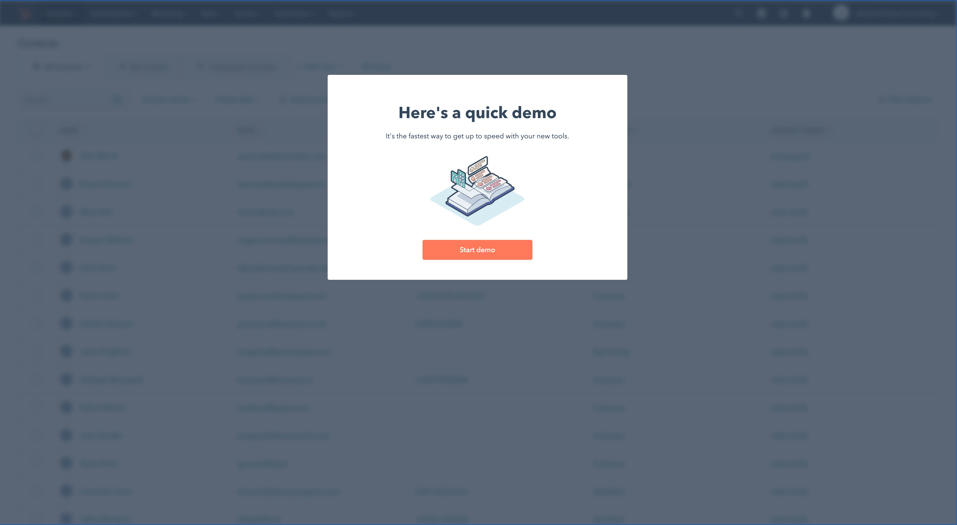
Hubspot will walk you through a Demo - if you are interested in learning how powerful this tool is check out the Demo. If you don’t care that much and would rather learn on the fly, skip it.
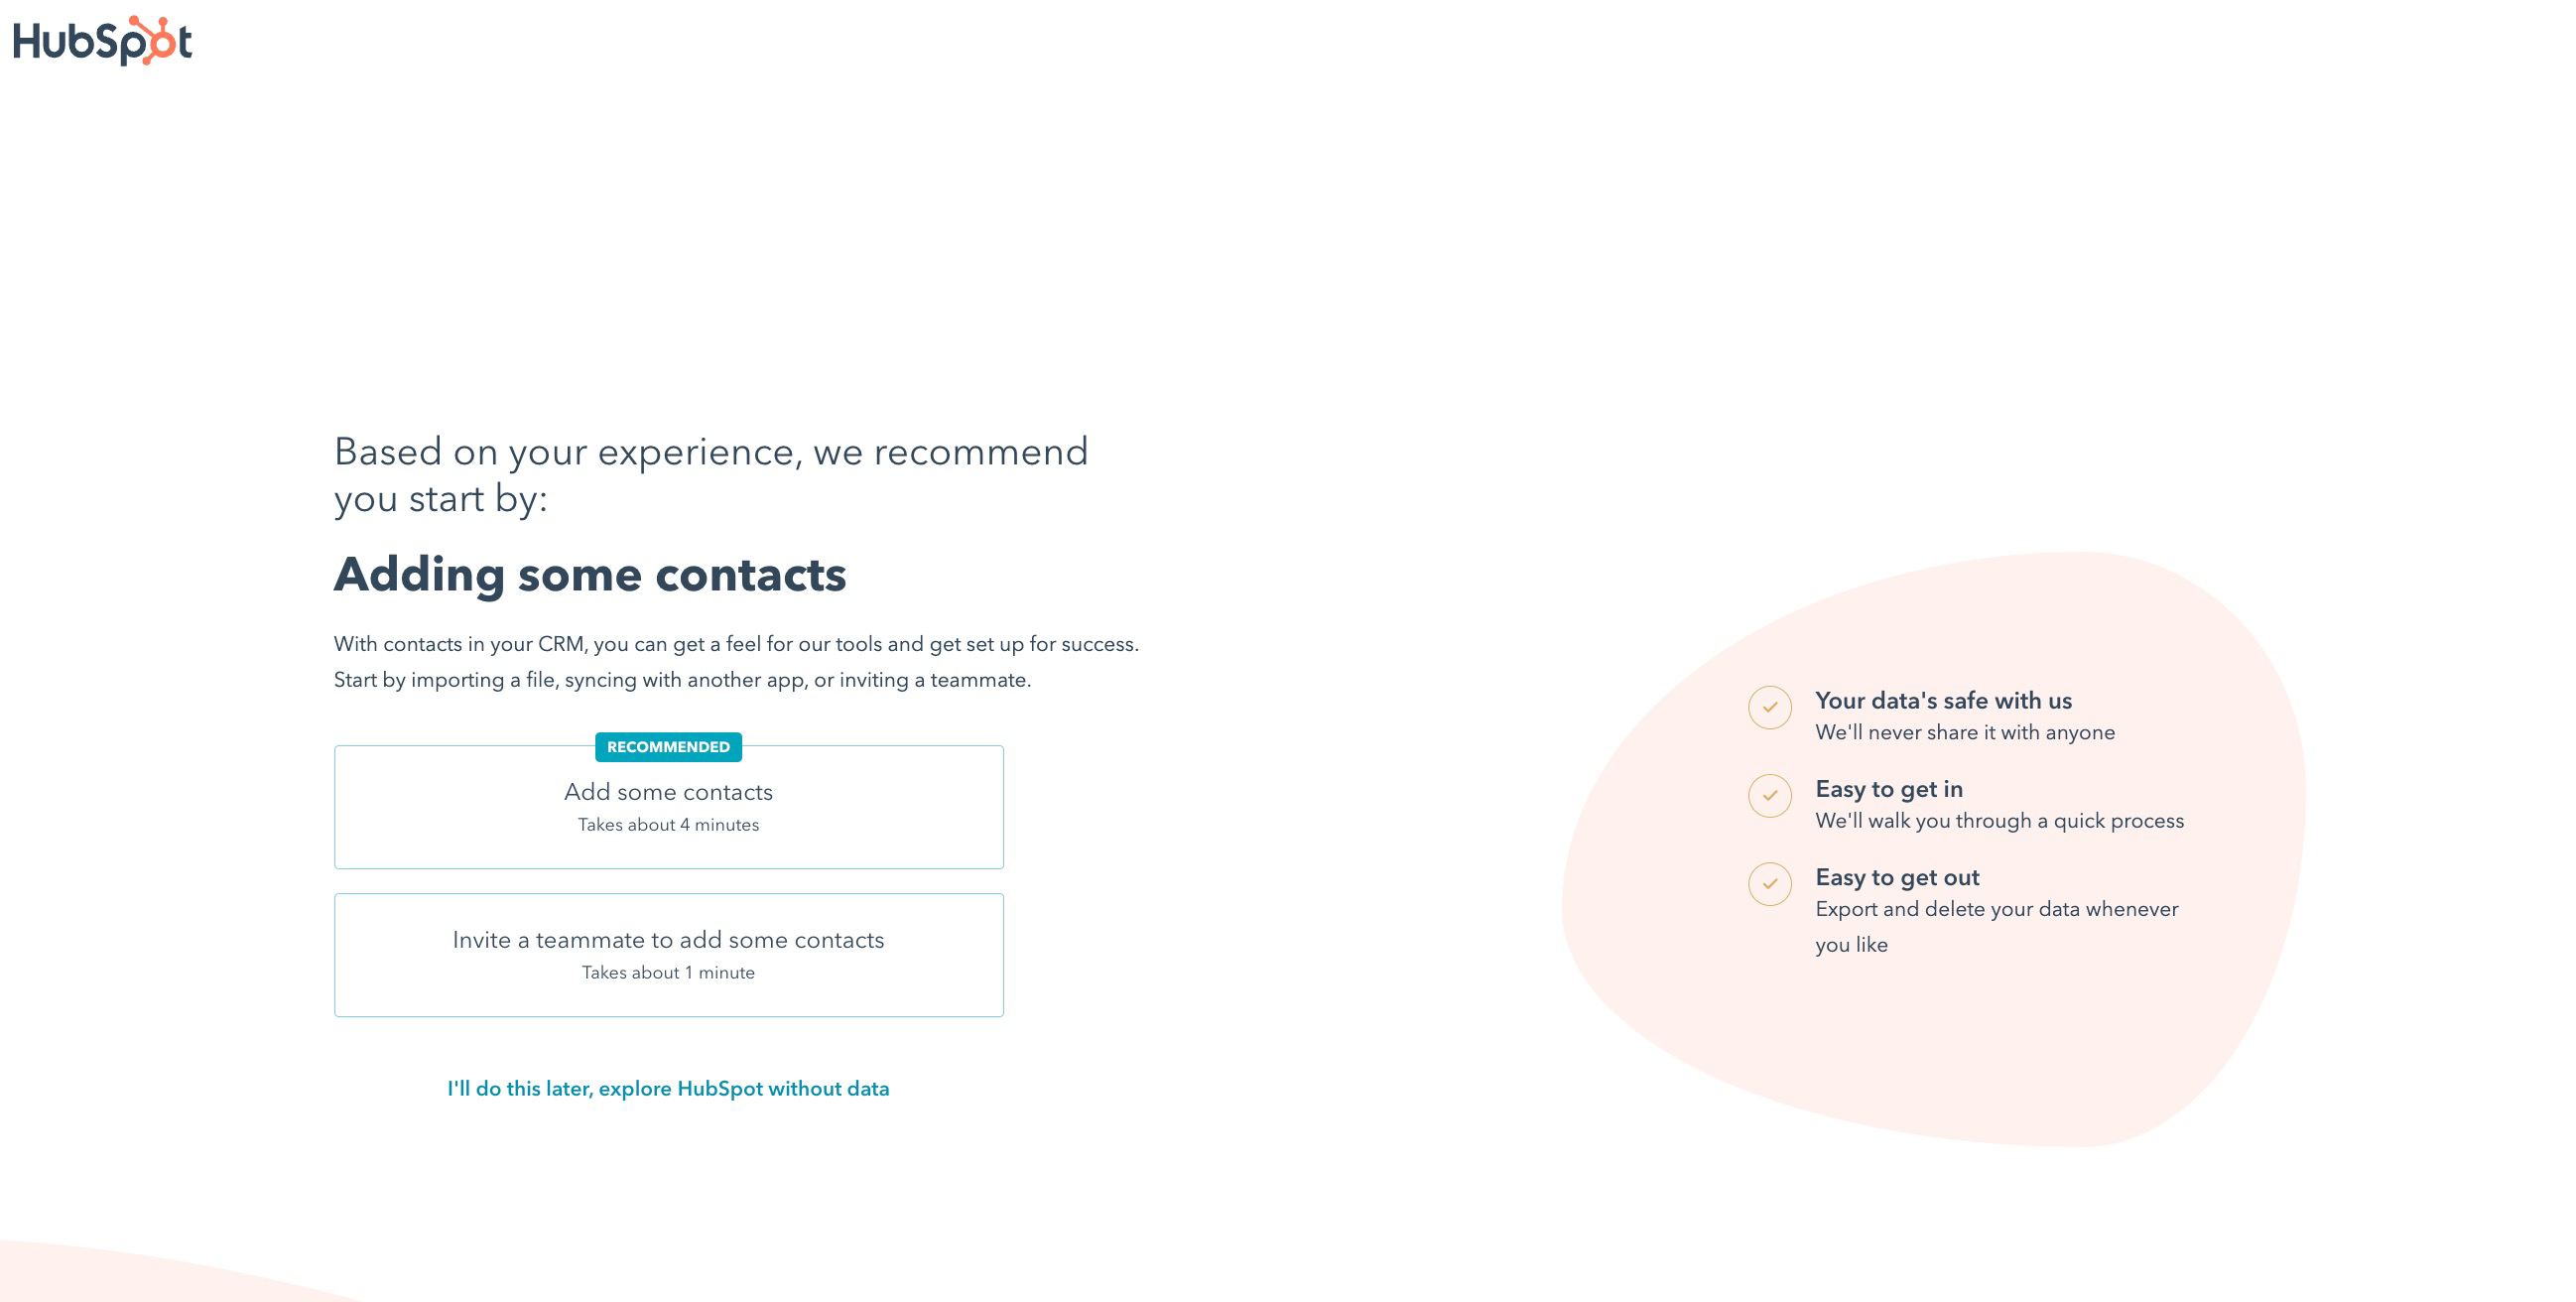
You can then add contacts or invite someone else.
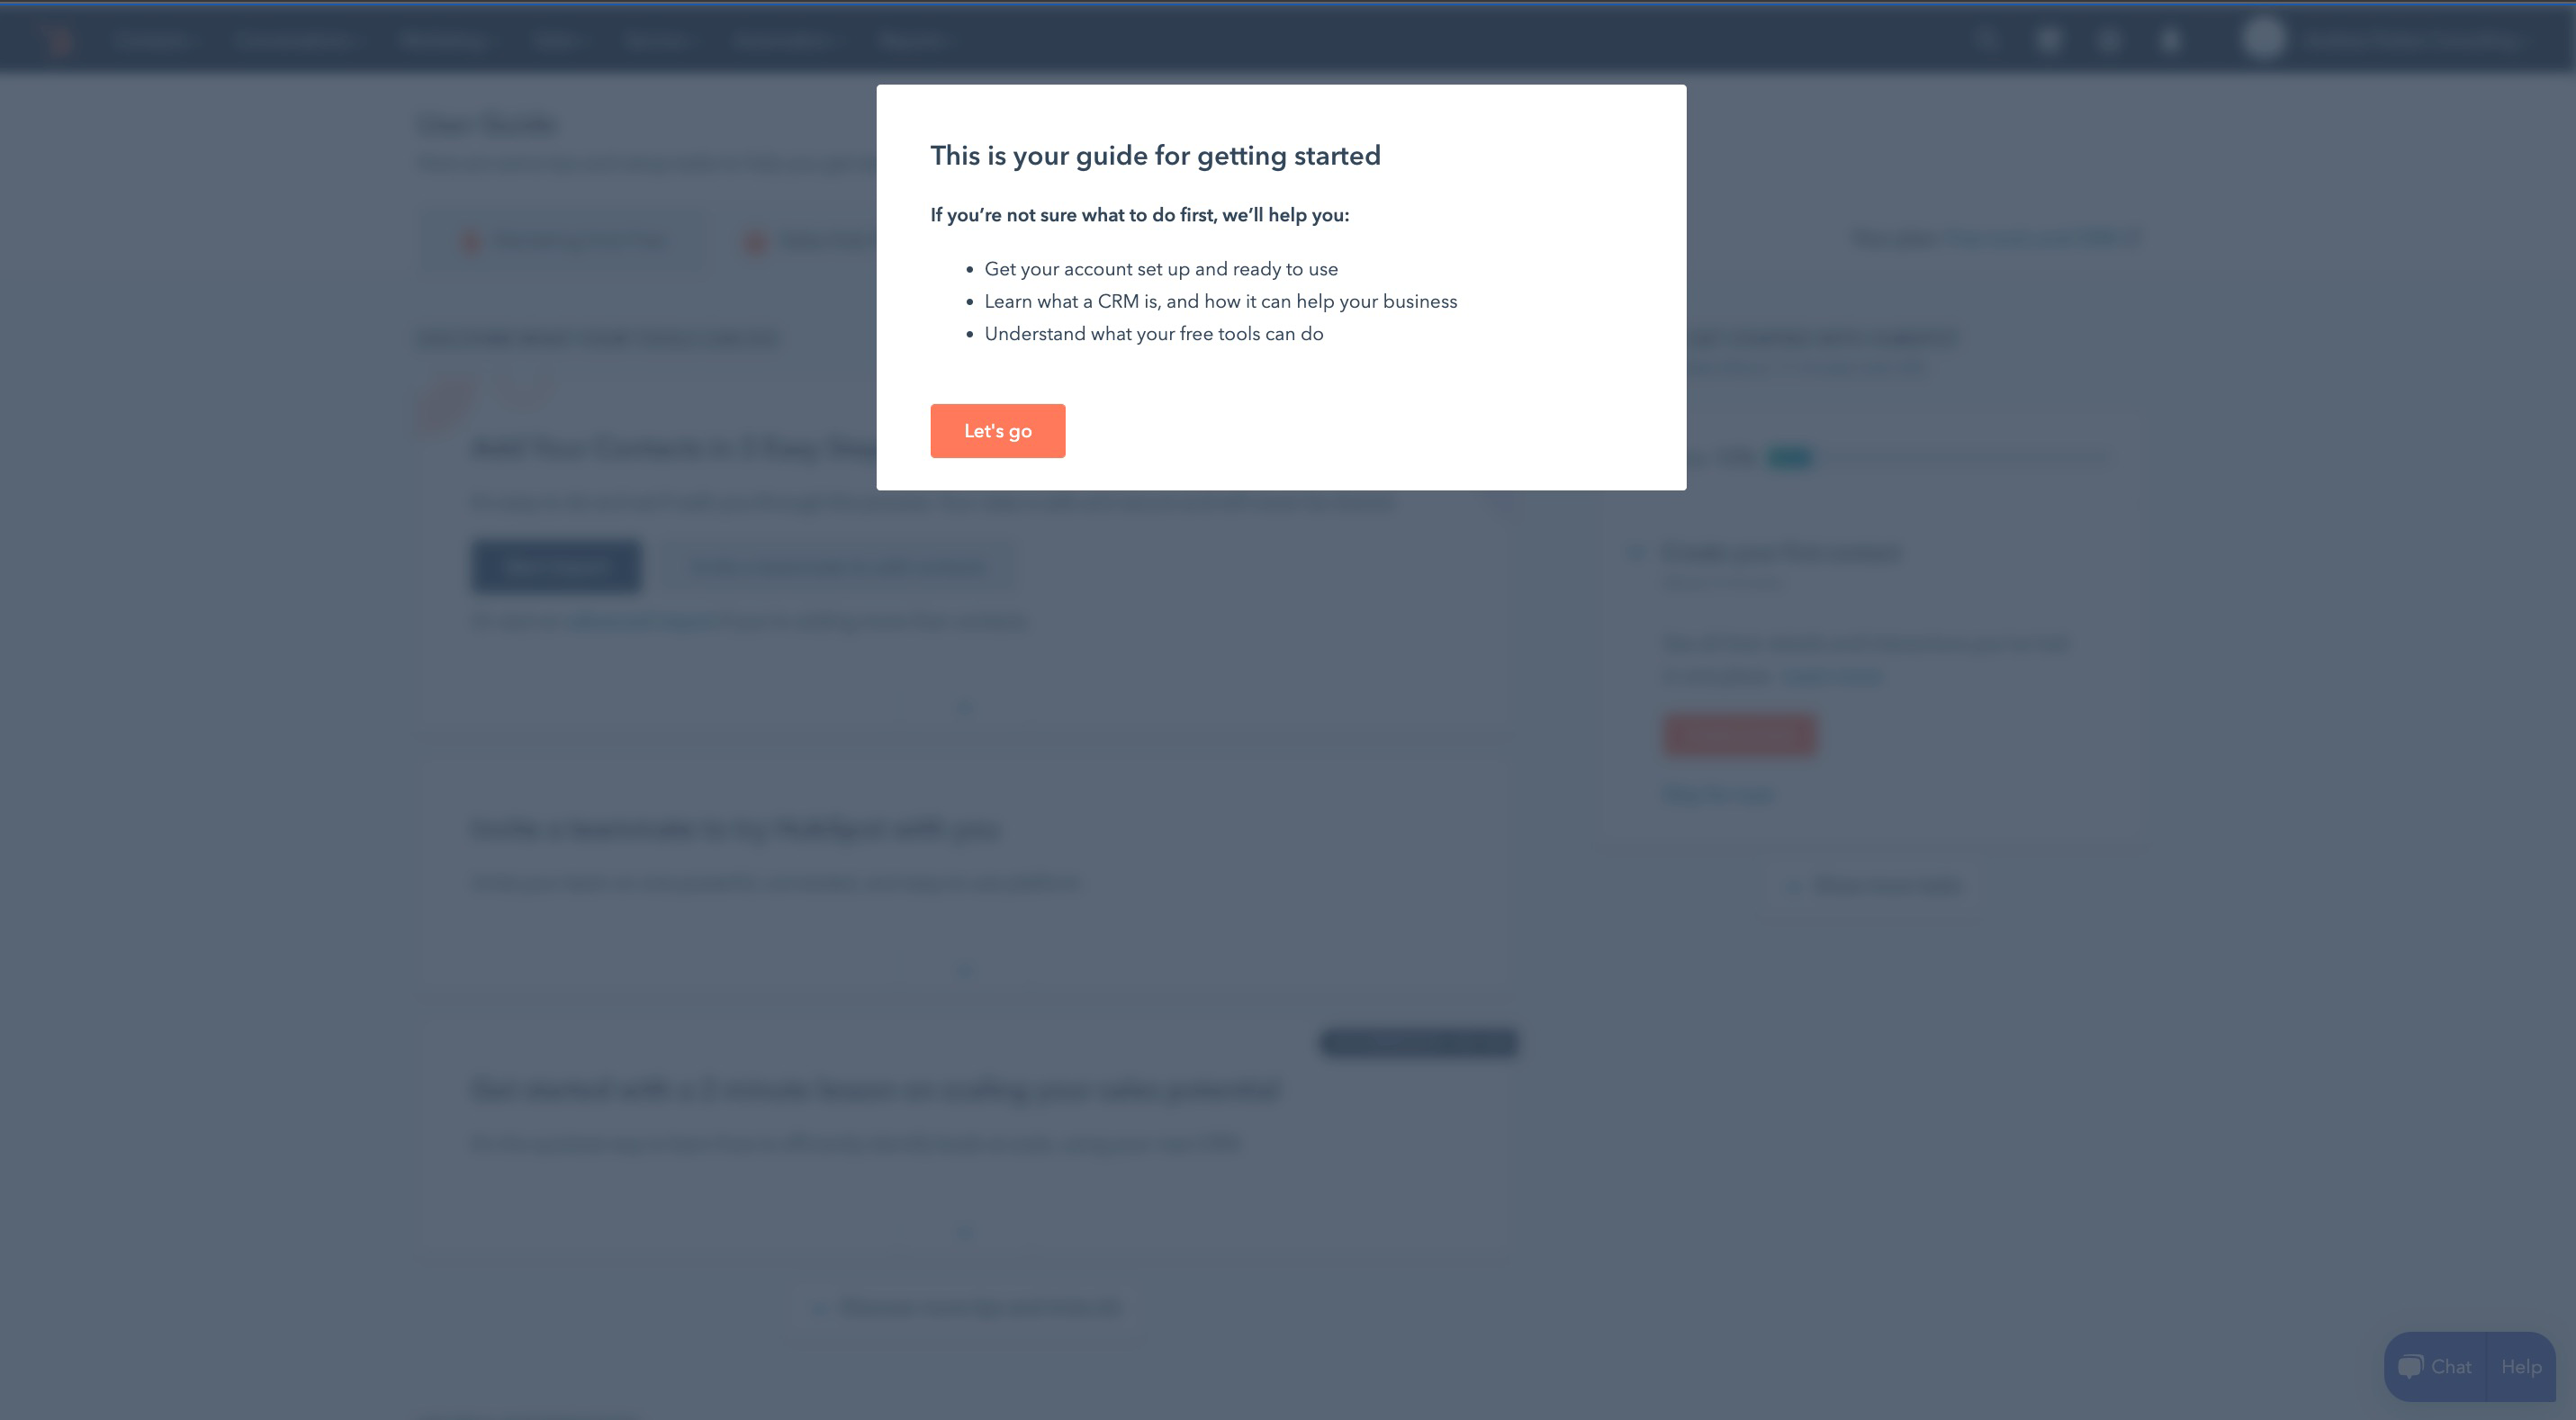
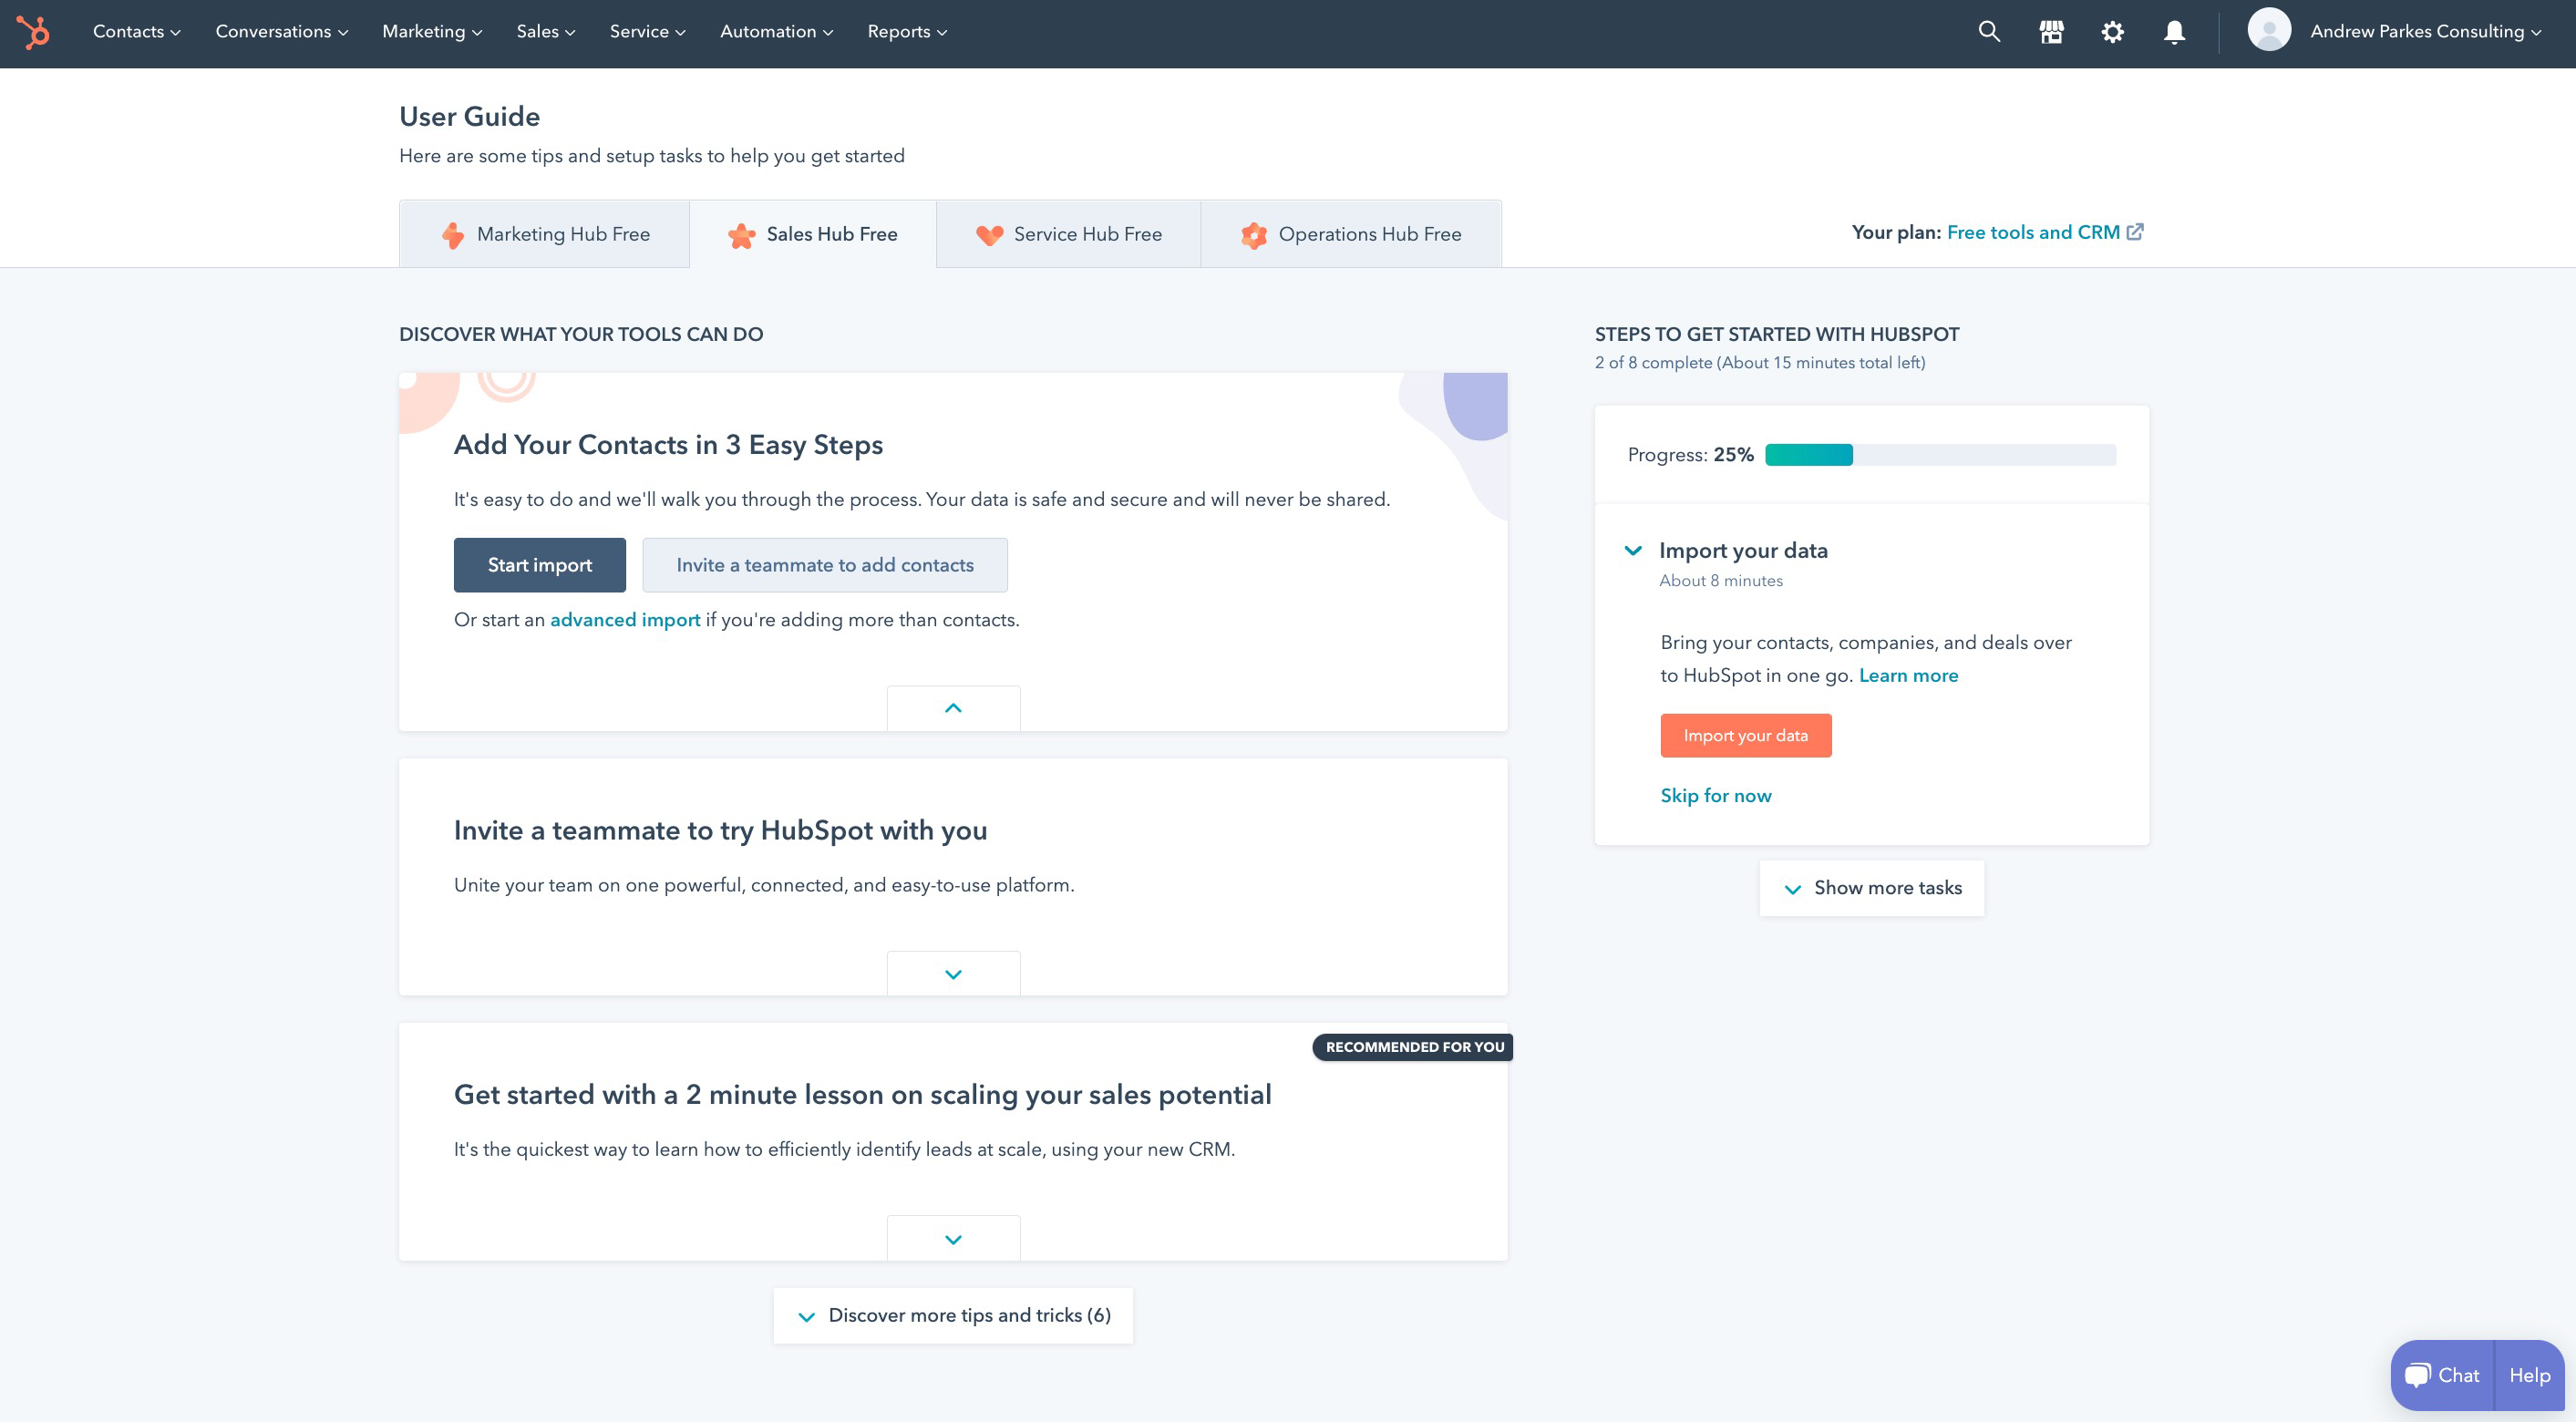
Now, there is a nice setup wizard with a checklist of things to do to get setup. You can click around here as well or feel free to skip.
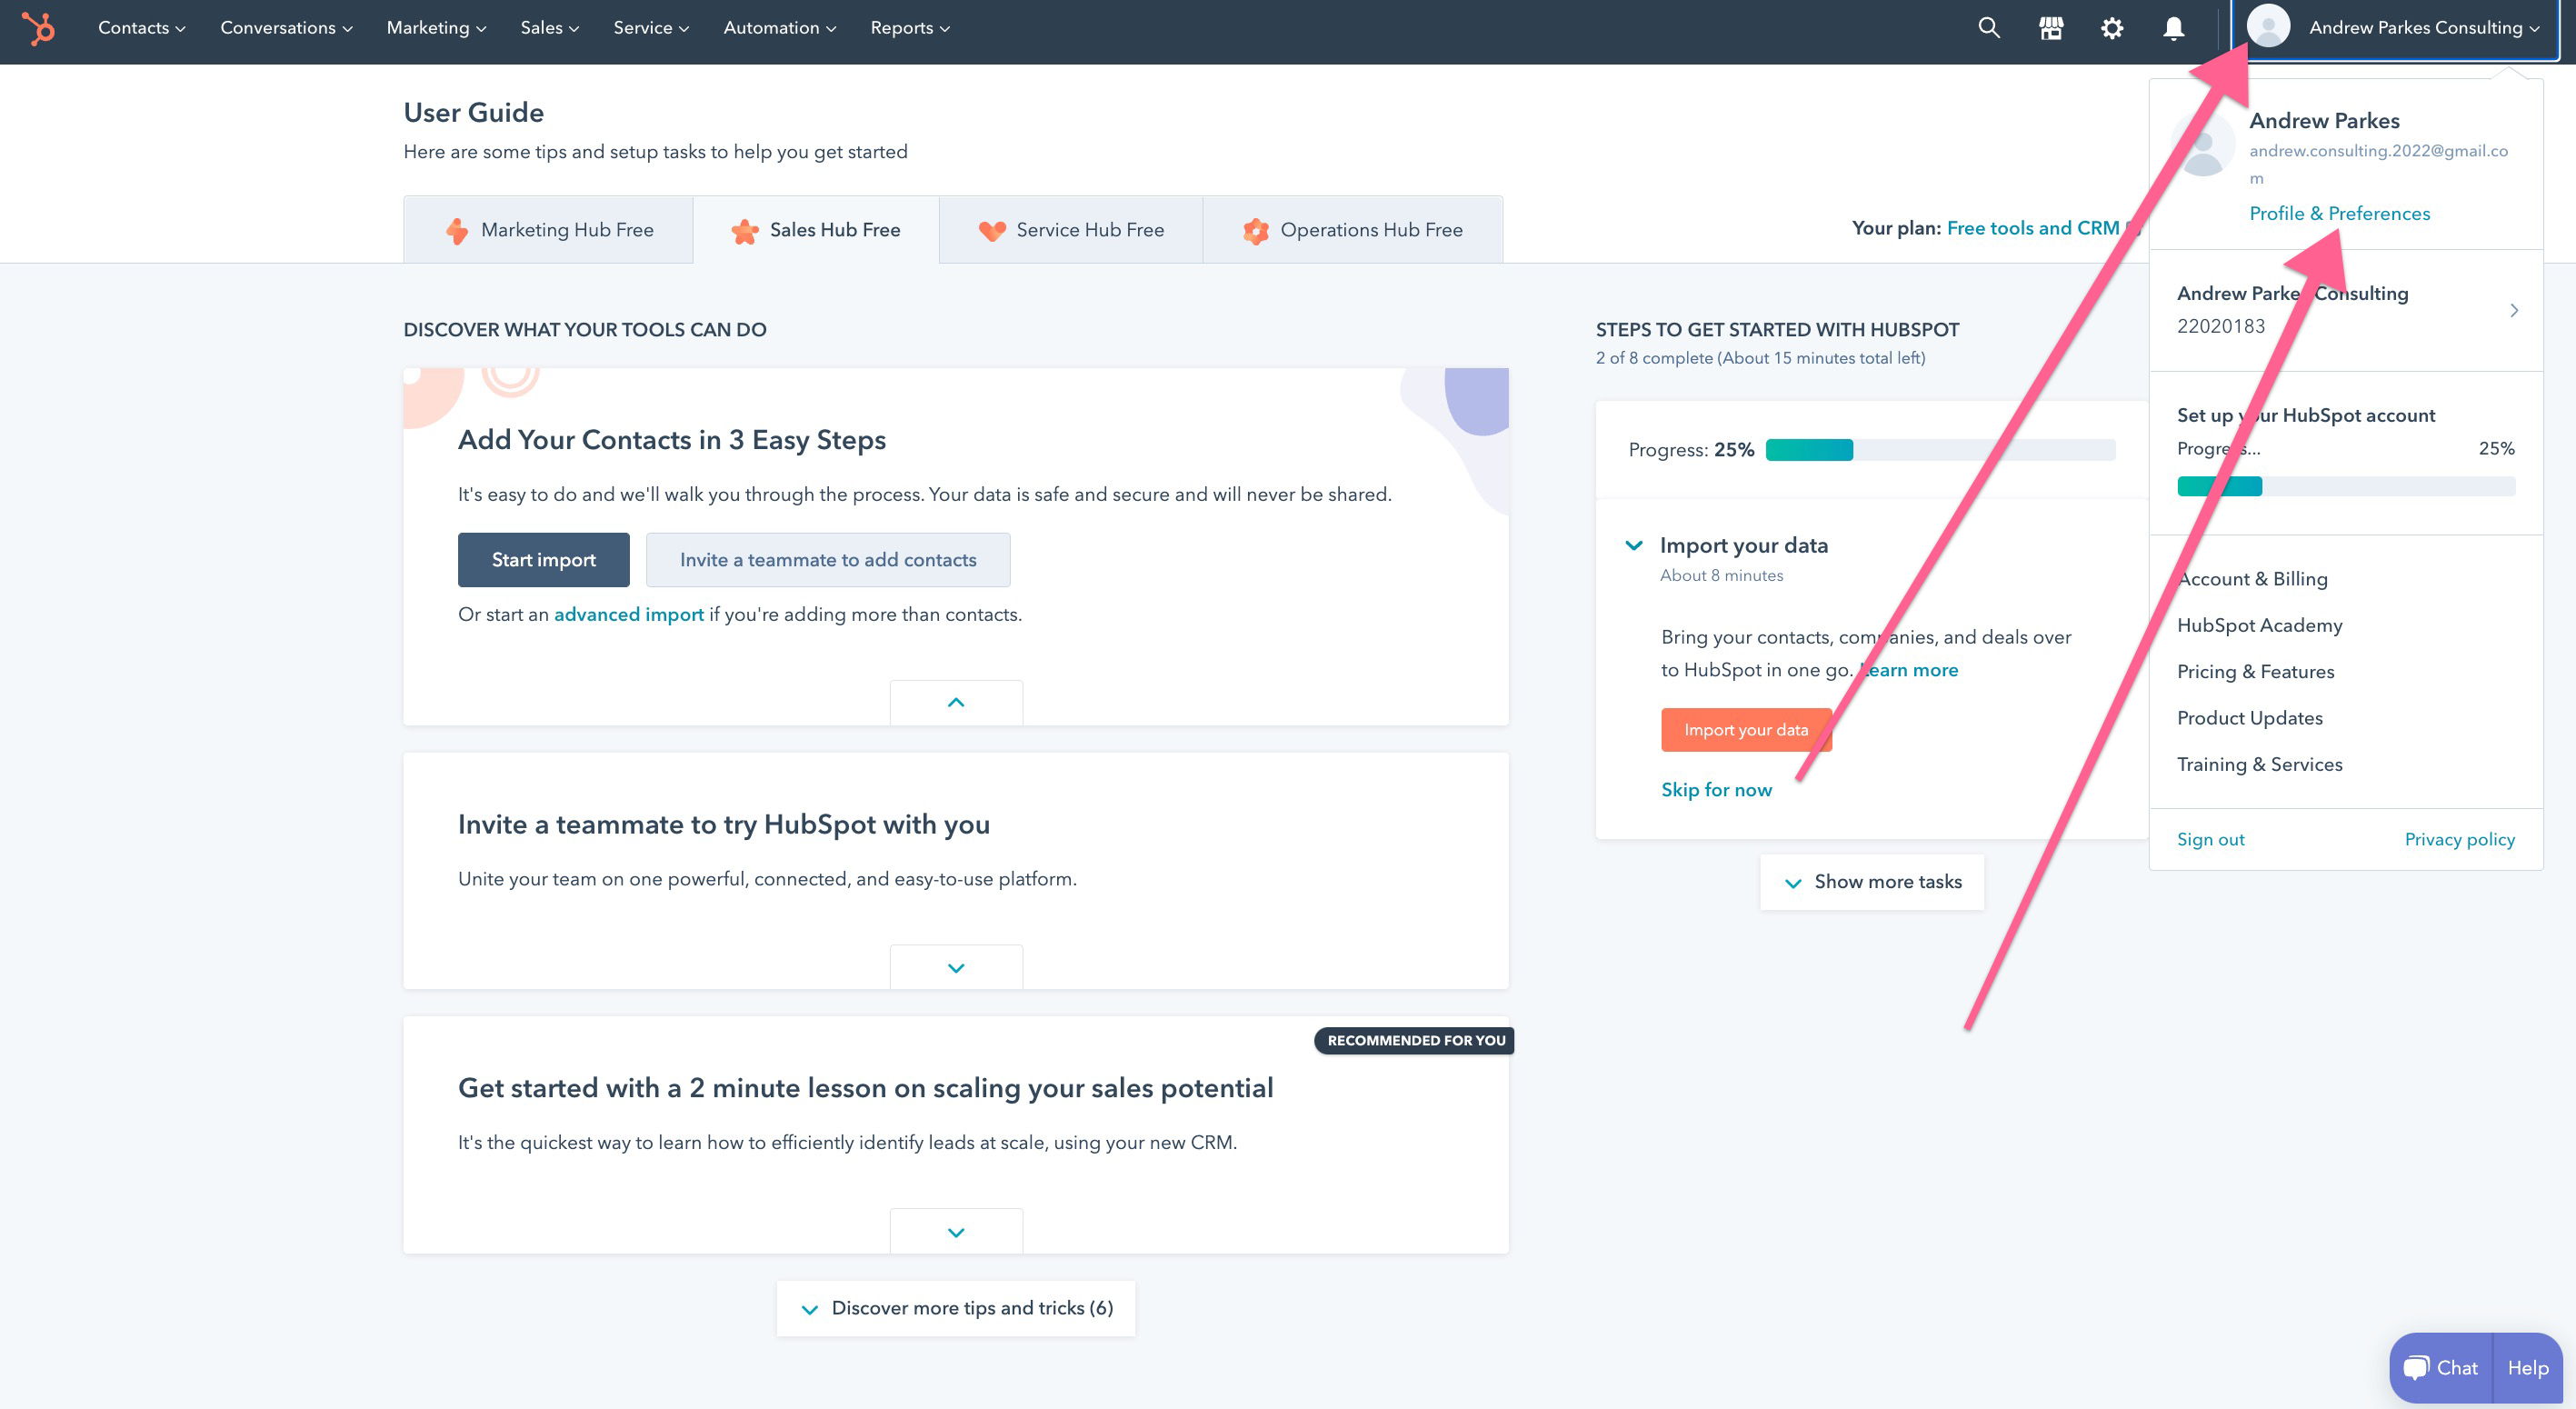
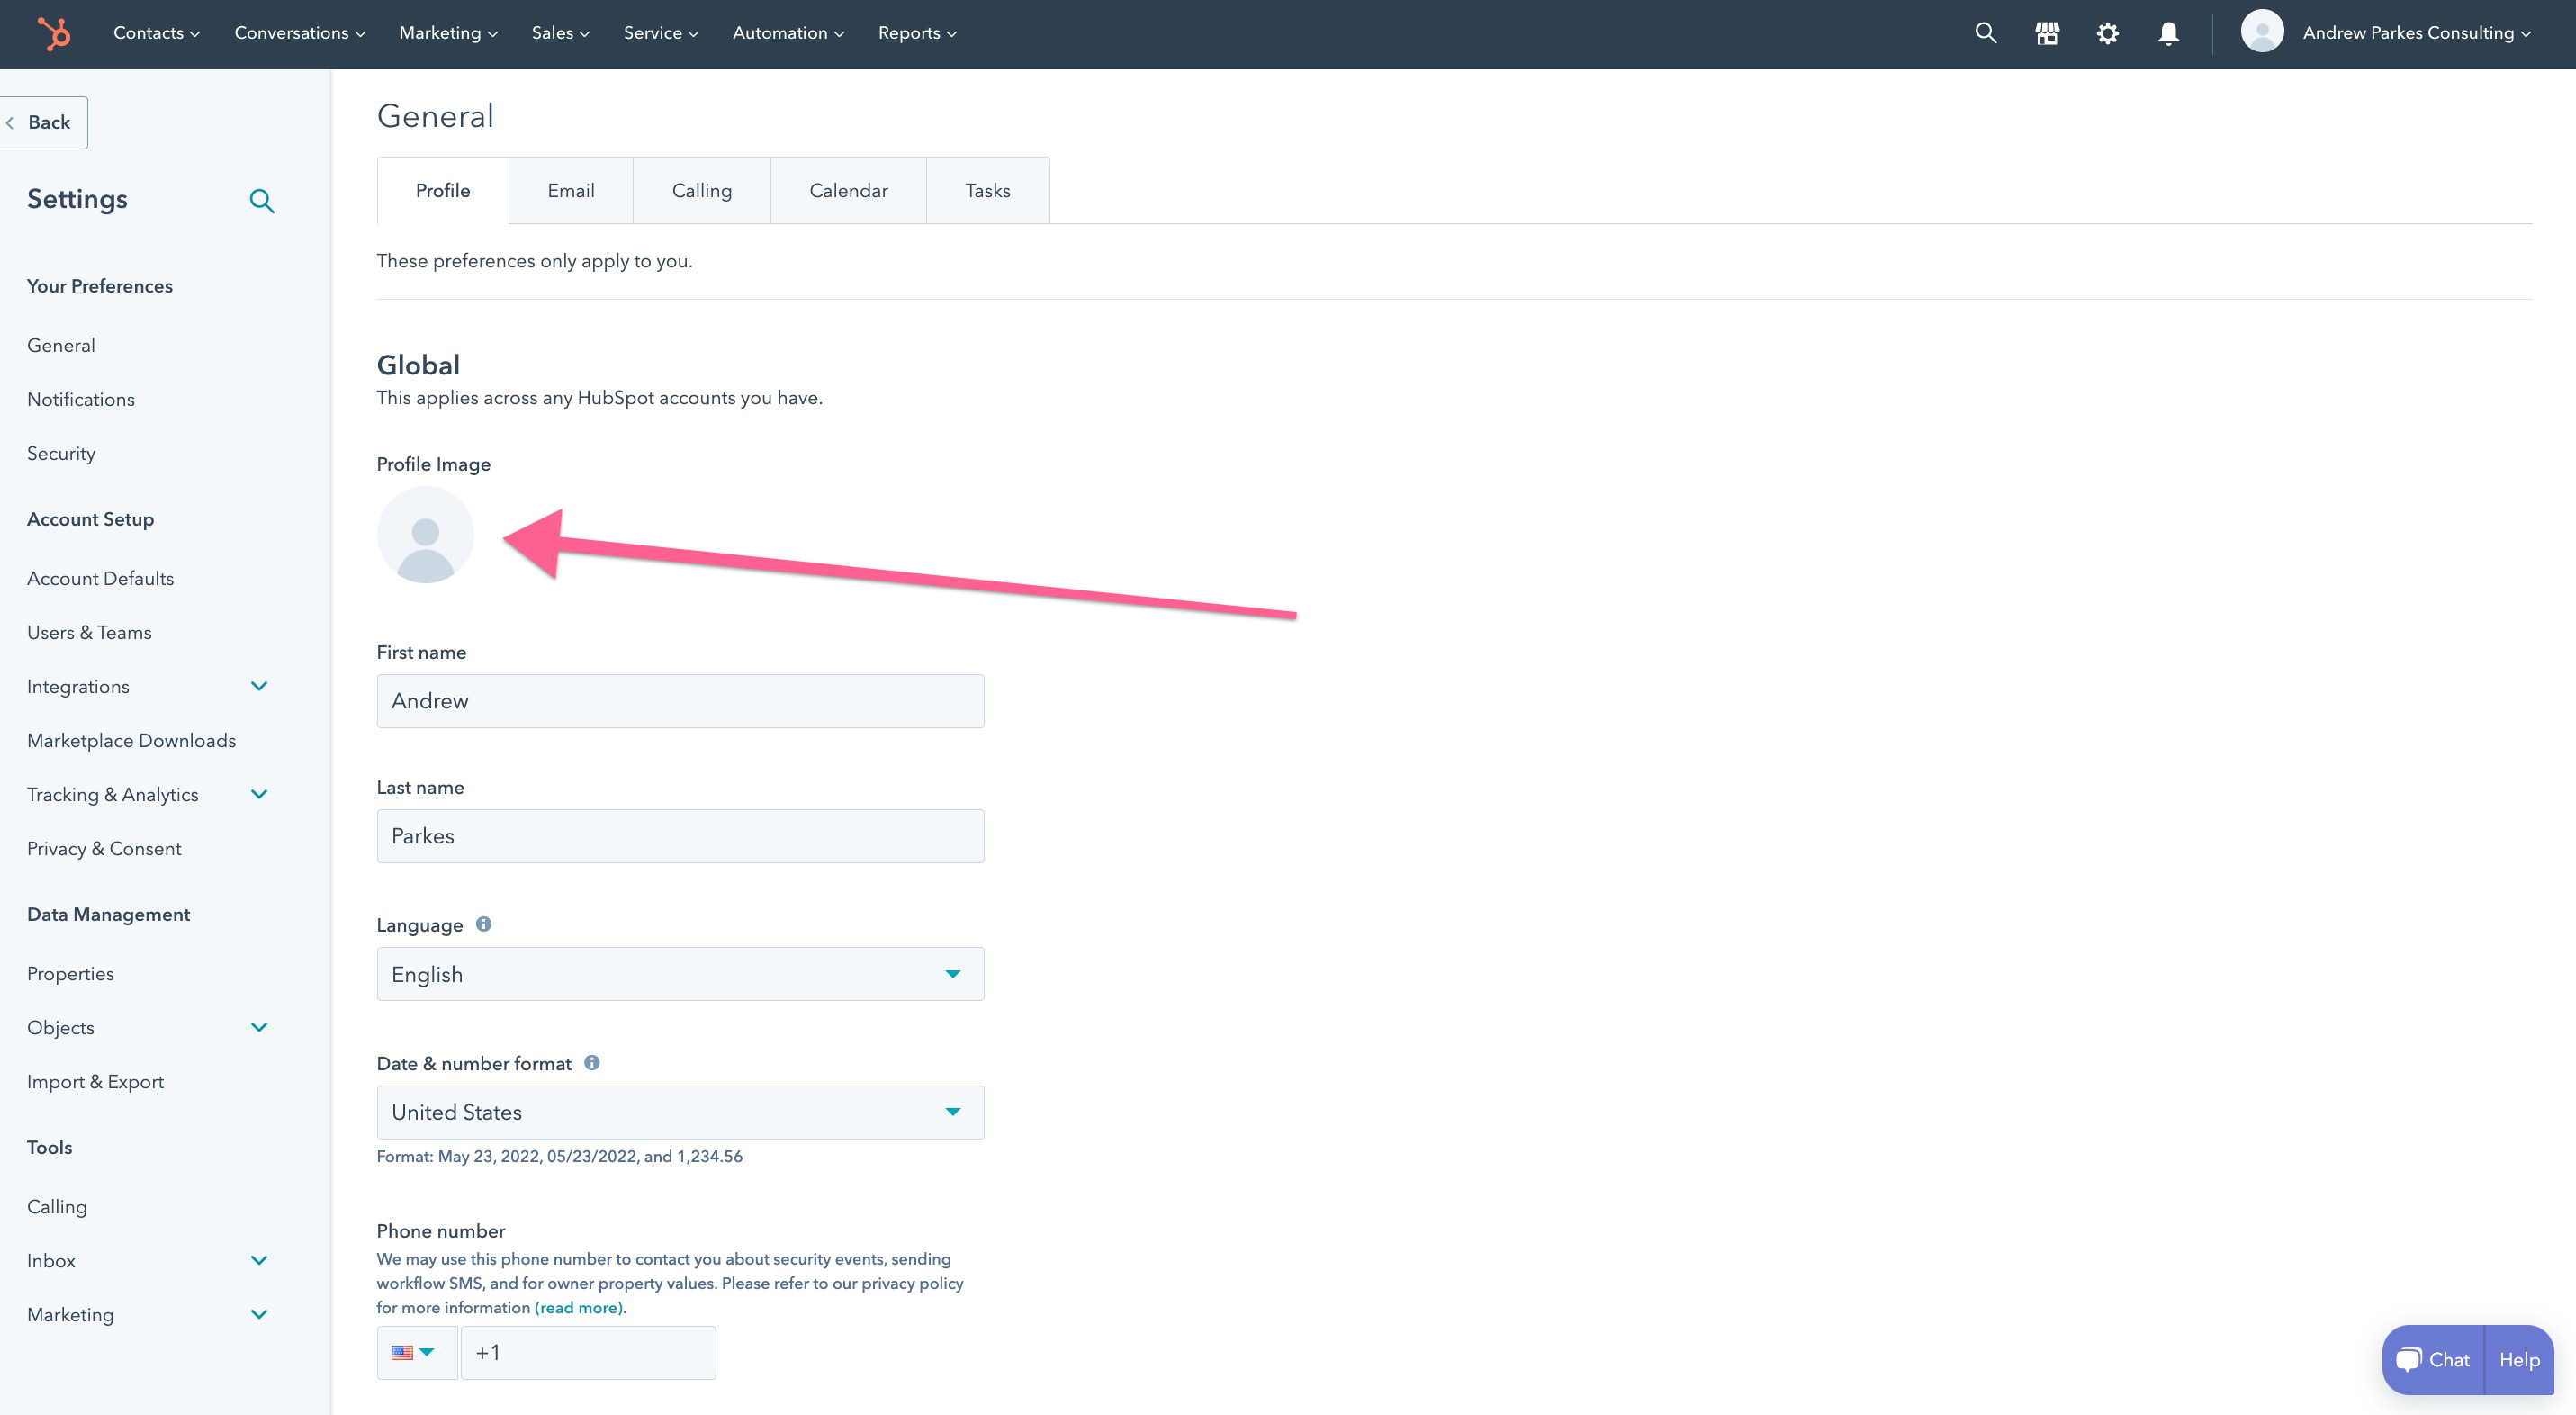
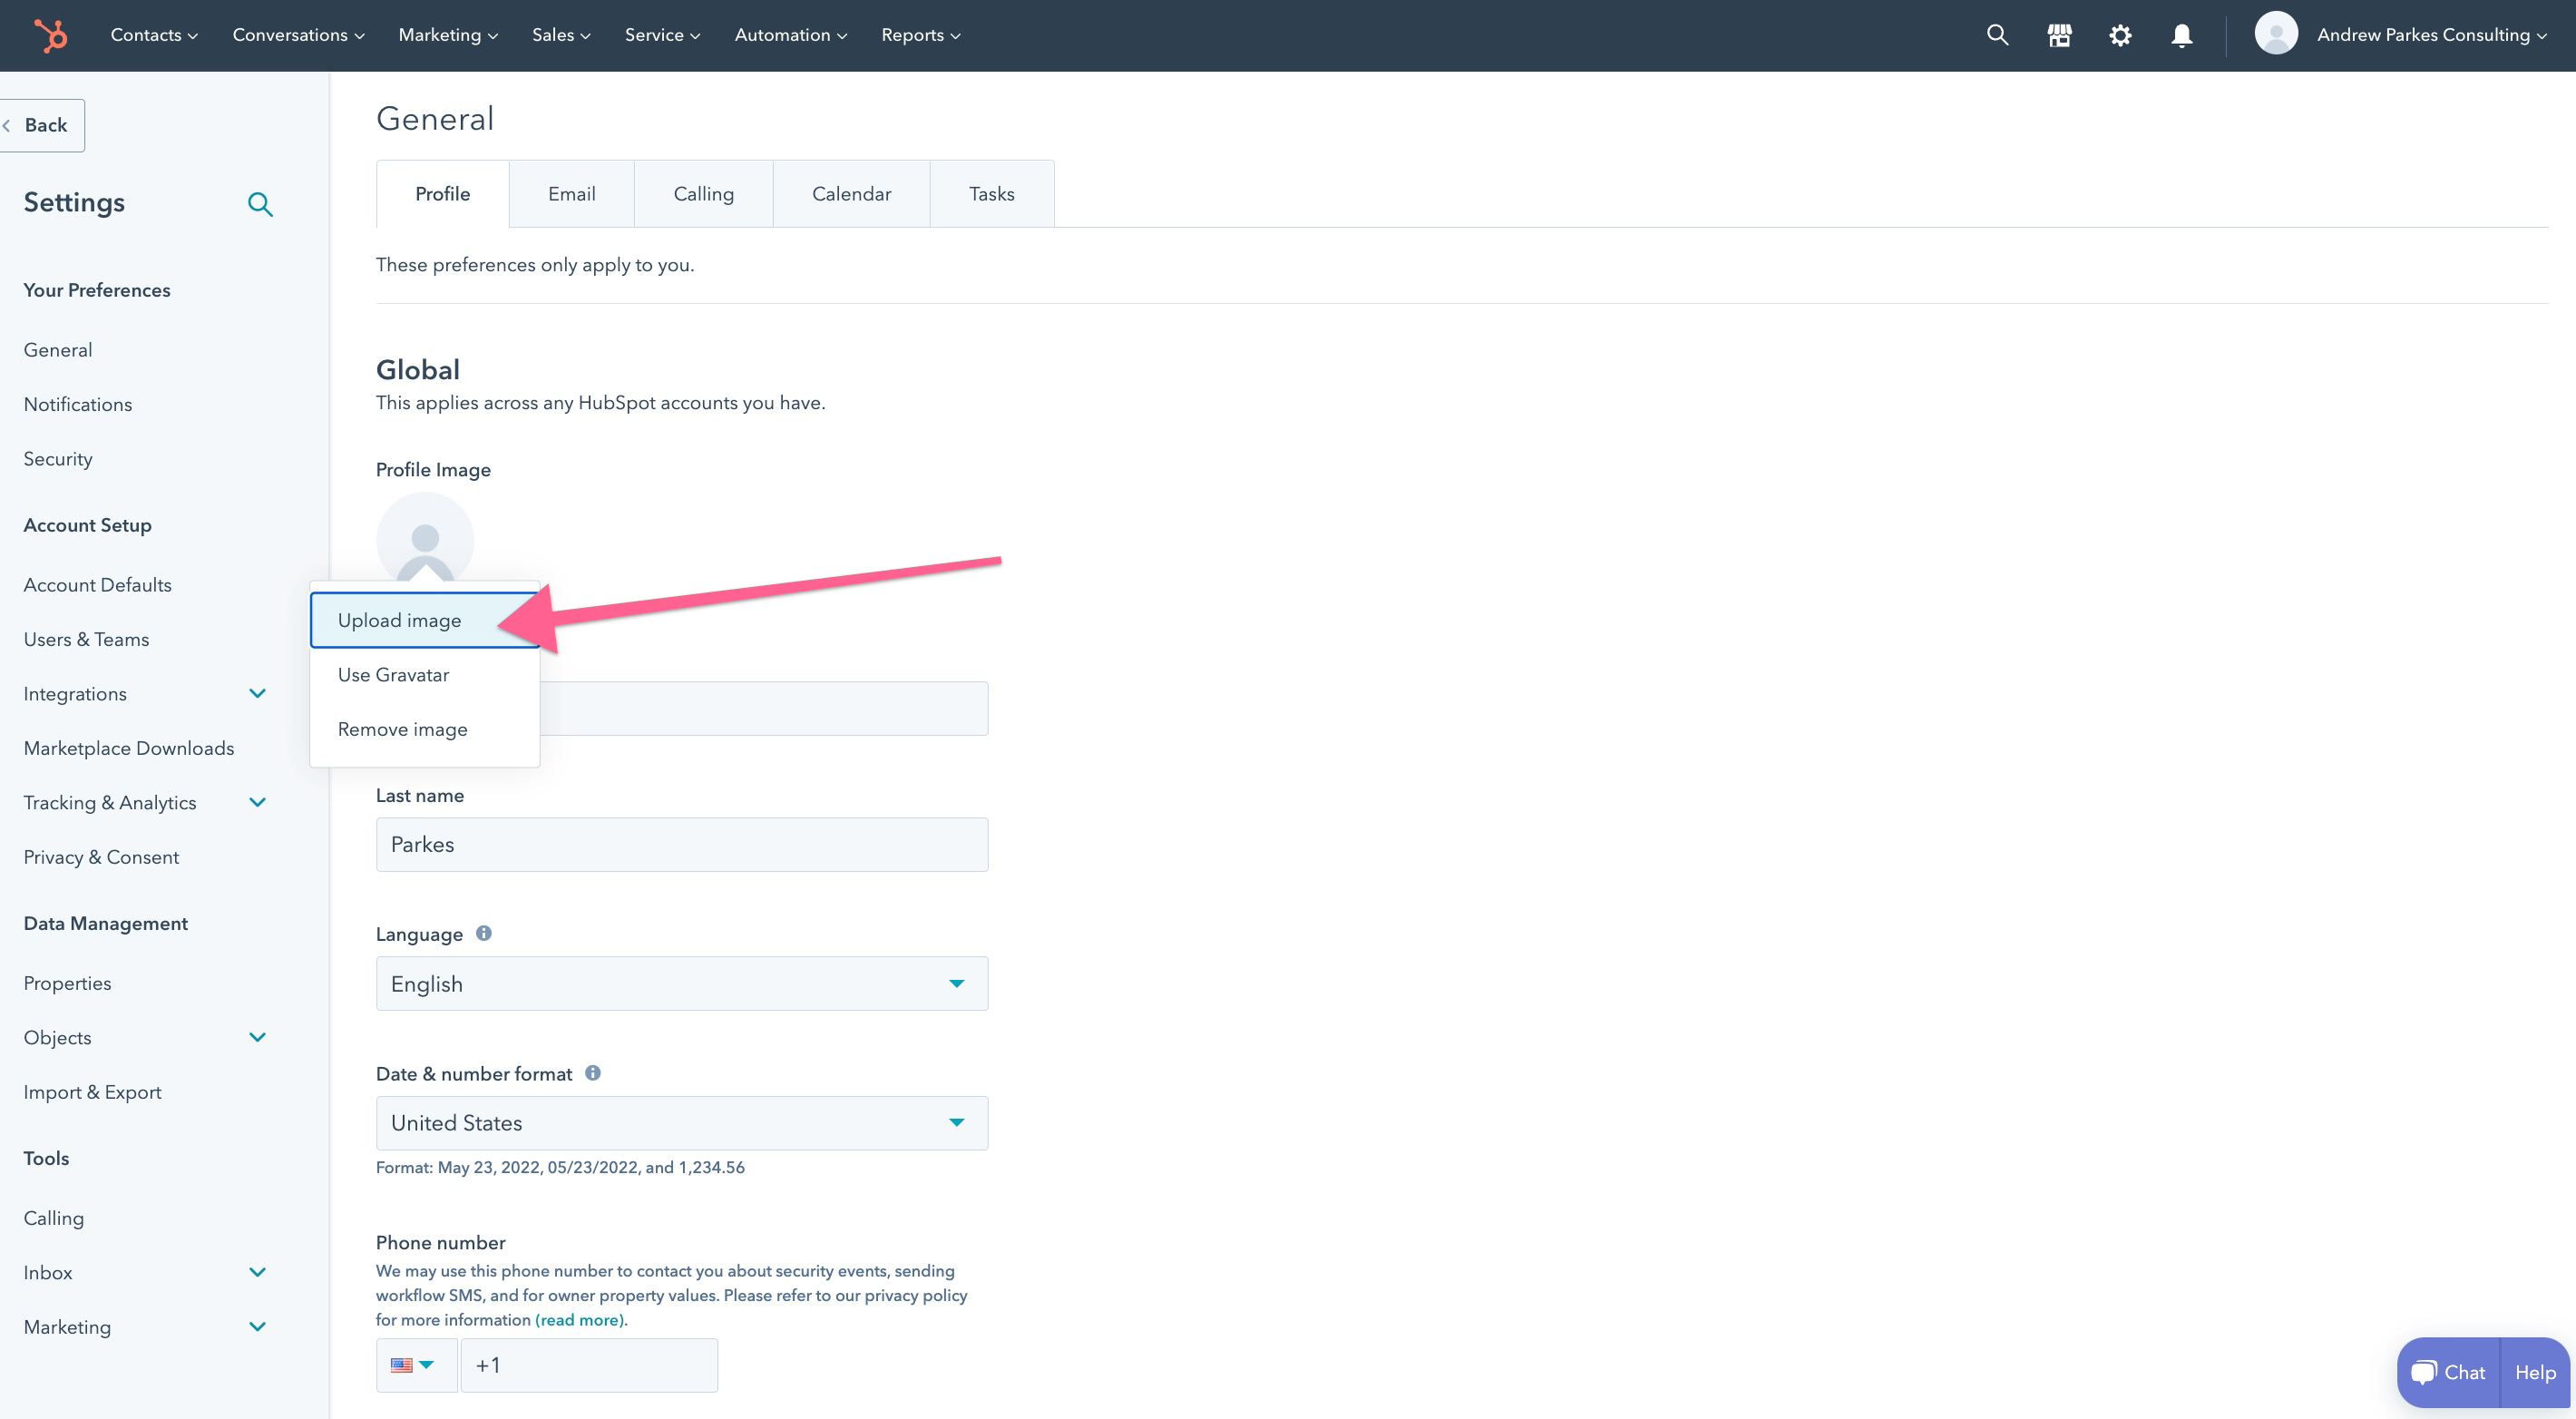
2. Add a Profile Picture
This is important as it will show up later in your Scheduling link and is good for the overall user experience.
3. Create Data Properties for a Form
Now, working in Hubspot, the first thing we want to do is create a form for the free Consultation call.
Before we create the form, we need to create properties which are used as questions in the form.
Properties also hold the form responses for easy reference later on or to create reports.
Next, we create the actual form itself.
4. Create a Scheduling Link
Next, we will create a Scheduling Link so someone can book a meeting with you.
5. Create an Email Template
Create an Email Template to send the Consultation Call form after the call is scheduled through your scheduling link.
6. After you deliver an amazing Consultation call, create and send a Testimonial form
Create a Testimonial Form for after the Free Consultation Call to get a rating for the meeting, what went well, what didn't go well, and to get referrals.
That's it!
Summary:
Using free software (Gmail/Gcal, Zoom, and Hubspot), you have:
- Created Data Properties within Hubspot to hold important information about your contacts
- Created a form for the Consultation Call
- Created a Scheduling Link for calendar bookings
- Created an Email Template and integrated it with Gmail
- Created a Testimonial form to gather a rating, feedback, and referrals.
Congratulations on using free tools to start your Consulting business.
Let me know how else I can help!